Make your Ideas come to Life!
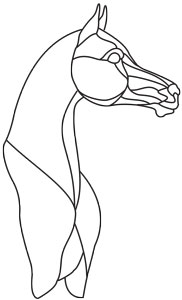
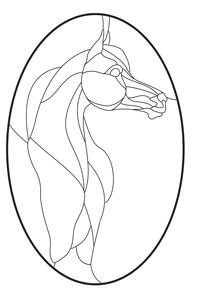
Often I am asked, how do I take a pattern that I see on your site and make it into my own pattern. Well this post is going to take you through this process as I would go through it in my studio. For this example I am starting out with a simple tall Arabian head.
Add to the Artwork
But I think that it is too simple, so I decide to add a few lines in the neck area. Don’t be afraid to make changes to a pattern. A pattern is often only the starting point from which a great pattern is made. So add a few lines, subtract some too, until you think the pattern is great for you.
New add a Background
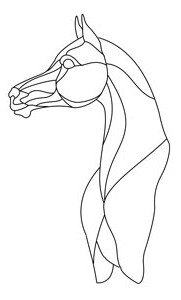
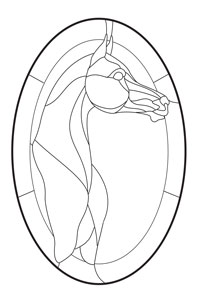
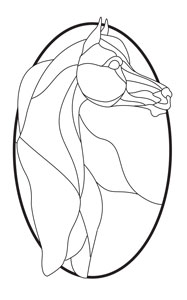
So here you see that I am trying an oval background on for size with my pattern. On the left the oval has a frame which I can add a color of glass to, or on the right a simple oval without a glass frame. Either is correct according to you eye and what look you are going for. You can also see that on the right I have also added a mane to my horse, because I feel that he is still a little too plain. This mane swooshs back into the body of the horse.
Play with the Shapes
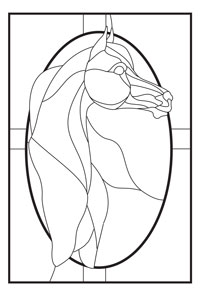
Here you can see I am playing with the background shapes to get it just right. On the sample on the left you will notice that the horse extends over the edge of the oval. I am preparing this piece for an overlay where the horse piece and the background are two separate pieces and then soldered together. You will also notice that I again changed the mane to flow to the outside of the frame instead of inward. I personally like this better. On the right sample you will see that I added an outside box to my idea. You can use multiple shapes for your background like this to add interest, depth or formality.
Last step is Color!
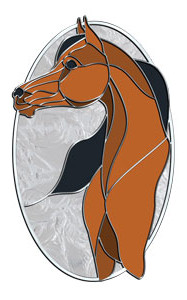
Here you can see I have finally added a color to give the glass artist an idea what colors of glass to pick. Although a glass artist tries to get as close of a match as they can, the glass comes already colored and unfortunately, your color may or may not be available as you create your glass piece. But a colored pattern will put you and your glass professional on the same page and is recommended. As you can see I chose the overlay pattern and am using 3 colors of brown for the body and one color for the mane of the horse. The background can be a color, but in this case I chose a clear background to accentuate the horse. I add what looks like solder lines and wal-la! . . .you can see what you want your glass piece to be.
 Don’t Be Afraid…
Don’t be afraid to play with your pattern a little to get the right look for you, or describe what you want to your glass professional. If you can, you should play with the pattern yourself, or send artwork that shows the type of style you are looking for. With cell phone cameras able to email send photos, click and send a pic, or save and send images from Google, it will help you and your glass professional to find just the right look for your glass piece. Just remember… that the more proofs you ask for, the more money you will pay, because even though we love our customers, the more time we send making proofs for you, the more we have to charge you.

