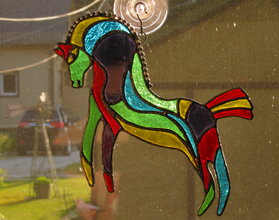
How is stained glass made?
One of the most asked questions I have is how is my stained glass piece made. The simple answer is it is something like creating a puzzle by starting with a picture, and then separating the pieces and putting it back together again. Let me show you with these series of pictures.
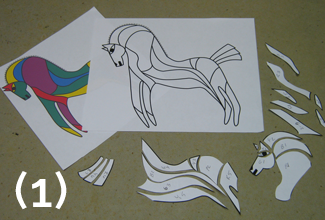
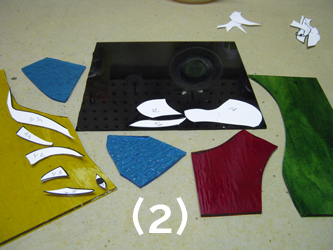
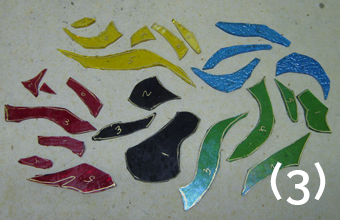
First you start with a pattern (1) and preferably a color mockup and another pattern which is cut apart to form something like puzzle pieces. The second step (2) is to find your colored glass panes and set your cut up pattern pieces on them, and mark them with a special pen. Each different color requires a different pane of colored glass, because of the color in real stained glass is formed in the furnace and kilns at the glass manufacturer’s factory. Mark all your pieces with pen. The next step is to cut all your pieces out of the glass panes. (3) Here we see all the cut pieces that are going to make our suncatcher.
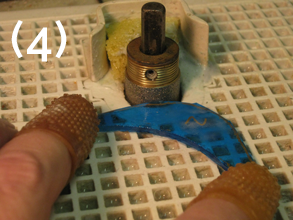
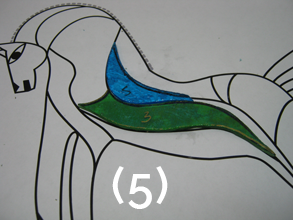
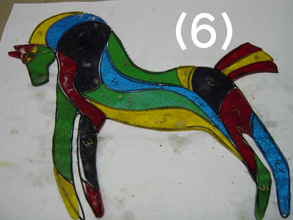
As you probably noticed the pieces are still rough. While you can sometimes cut your pieces precise enough to put them together at this time, if your piece is complex, you will probably need some shaping work done at this point, which can be done several ways, but I use a glass grinder. (4) The glass pieces are placed against the grinder and ground down to the perfect shape and fitted (5) onto the existing pattern we started with. We do this until all the pieces correctly fitted. (6)
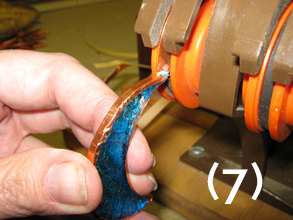
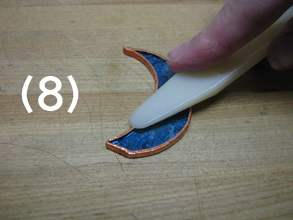
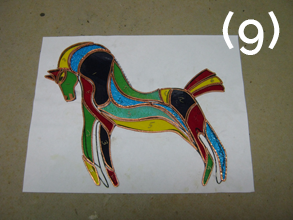
Now that we have all our pieces ready we need to put them back together. This piece in done in the copper foil method of stained glass, so we need to carefully wrap each piece of glass in copper foil. (7) This foil has an adhesive backing that sticks to the glass and here you see me foiling with the aid of a machine made for this purpose. Then all the foil is tightly pushed against the glass to give it a better bond with the glass. (8) Once that is done our “puzzle” is put back together to get it ready for soldering. (9)
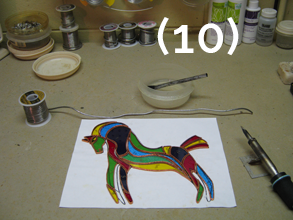
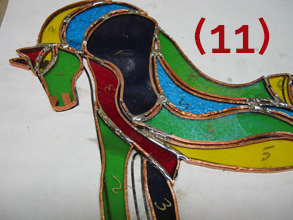
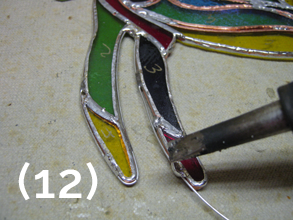
Soldering is done in both the copper foil method and the came method of stained glass and basicly, you are joining the metals that hold the glass together with metal solder. The solder is the glue that holds your piece together. (10) As you get ready for soldering you will need solder, flux, and a soldering iron seen here. You then tack the pieces quickly together where the pieces meet (11) and then go back and solder the whole copper foil area and form a bead line. The bead lines actually add strength and solidity to your glass piece. Once one side is done, you need to do the other. In order for the outside of my pieces to have more strength, I like to add a wire to the outside of my glass pieces (12) as you see me doing here. This makes the piece stronger and less likely to need repairs.
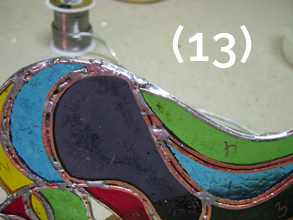
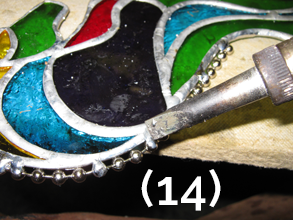
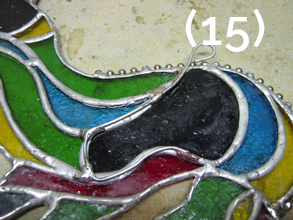
Once the wire is all the way around the piece, I embed it in solder around the whole piece. (13) Here you see the wire partially embedded for you to see. After you have all your beading done and the wire is embedded all the way around the piece it is time to add details such as the mane. (14) This mane is actually ball chain purchased at my local hardware store. Then we need to add a hanger. (15) Notice how it is bent to fit onto a solder line so it is not seen from the front.
Now your piece is done and ready for you to hang up. See how it works something like a puzzle. Cut pattern apart, make pieces out of colored glass, make all the pieces fit, wrap in foil, put it back together! Now it’s your turn . . . not ready to tackle it yourself, then contact me for any of your stained glass needs.

